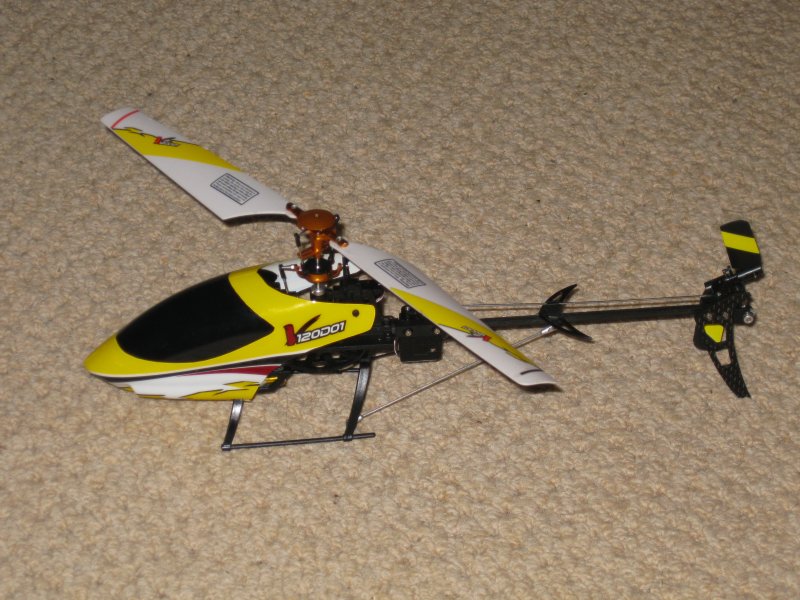
Tiny yet it has a shaft driven tail with servo
driven tail rotor pitch, 3 axis solid state giros coupled to an adjustable
electronic flybarless system, a brushless motor and 10Amp speed
control. All miniature versions of what you get on much larger helis.
The heli is incredibly tough - I have crashed many
more times than captured on video - some 'bone jarringly' hard - and
the only (non-cosmetic) damage was a set of stripped tail drive
gears and a few nicks out of the blades - see
crash video.
This page is relevant to many of
the latest generation of fixed pitch microhelis, some will have
flybars, some like this will be flybarless! Coaxial (dual rotor)
helis are extremely stable and are therefore very easy to fly and
not covered here.
Flybarless helis use gyros and electronics to
replicate the stabilising effect of the flybar on conventional helis.
The flybar acts as a gyroscope 'modifying' the control inputs from
the servos therefore imparting some level of stability to the heli.
The weight of the flybar blades (many have extra weights) has a
dramatic effect on the stabilising effect. Higher weight = more
'stability'.
The simpler mechanical design (fewer moving parts) & lighter
weight make flybarless systems more efficient and therefore can fly
longer for the same battery charge. There are also less parts to
wear, fail or damage in a crash.
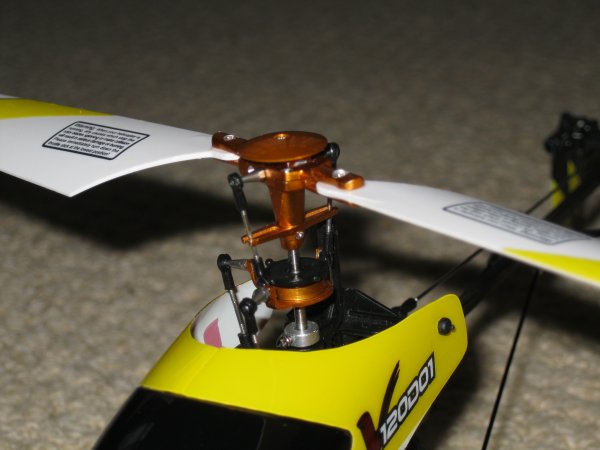
Images below show the difference between a
flybarless rotorhead and conventional rotorheads.
Flybarless fixed pitch
rotorhead. Direct connection of the control arms to the swash plate.
Very few moving parts, low weight and aerodynamic drag.
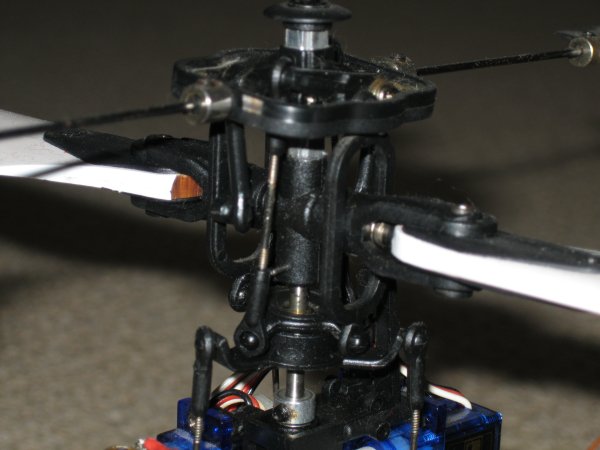
Conventional flybar fixed
pitch. The flybar has 'levers' that modify the inputs from the swash
plate. About 6 moving parts for the flybar. Arodynamic drag from the
flybar and lever mechanisms reduces efficiency.
Conventional flybar CP
(collective pitch) rotorhead. The flybar connects to the blades via
the 'square' frame and internal levers - about 12 moving parts for
the flybar system. Stabilising weights can be seen on the flybar.
Coaxial,
dual rotor heli - top rotor is stabilised by the heavy flybar. Lower
rotor accepts control inputs. These are extremely stable helis and
very easy to fly but have limited performance.
This video describes the actions of
the stick controls on the transmitter. The sensitivity can be
adjusted on many transmitters - this one has a 'half' control limit
switch (top right) that effectively halves the rate of the sticks -
this is very useful when starting to learn to fly. More advanced
transmitter models will have programmable 'rate' and 'curve' - set these
at the
manufacturers recommended settings for your flying experience.
If you do not have adjustable rates
just remember - VERY small stick inputs!
Many forums etc have a wealth of
data and guidance on transmitter setups.
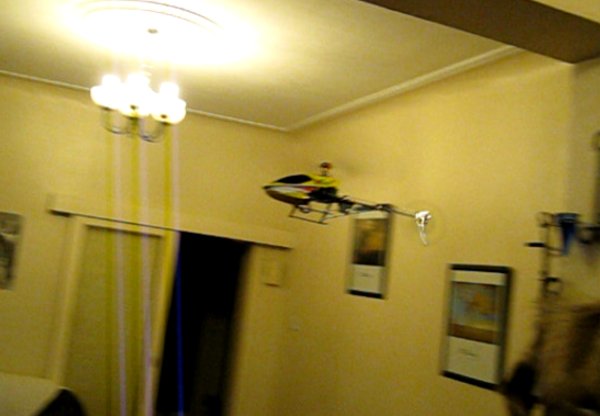
Takeoff.
If you have, or can make, a set of
training gear for your heli there is an exercise to get used to the
controls - skate the heli around the floor. I have not demonstrated
this since a smooth hard floor is required, see the video when my
homemade
training gear catches the carpet! Get the heli light on the training
gear and 'skate' around the floor, this gives a feel for the
controls. Beware however that the control inputs when 'skating' are
far less effective than when flying. ie: more input is needed to
control the heli - due to drag on the ground.
As you become familiar increase
power so that the heli is just off the ground and practice very low
fly-skating.
If you don't have access to a
smooth floor or training gear then you'll just have to go for it -
hop off the ground and back down to get a feel for the takeoff power
- careful of the very unstable transition zone.
The heli will tend to drift left
on takeoff, this is due to the tail rotor having a net left push
whilst counteracting the main rotor torque - compensation will come
naturally with practice.
Hover.
If you have 'skated' the heli with
training gear the transition to hover is very easy - increase power
until the training gear is free of the ground and use the right
stick (cyclic) to maintain position. It can't fall over with
training gear and will be more stable due to the extra weight.
Remove the training gear as soon as possible - the heli will be much
more lively without the weight and drag.
Without training gear extend the
lil' hops longer and longer, keeping the heli reasonably low, and maintain
position using small inputs of the cyclic.
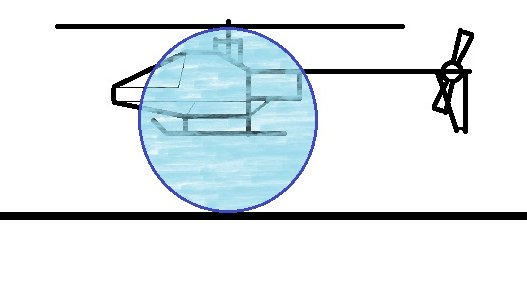
When very low to the ground a heli is
more unstable than at higher altitudes, this is due to the ground
effect - the ground acts as a barrier to the airflow from the
rotors. Stable hovers at altitudes below approx' 1 rotor diameter
are much more difficult due to this ground effect.
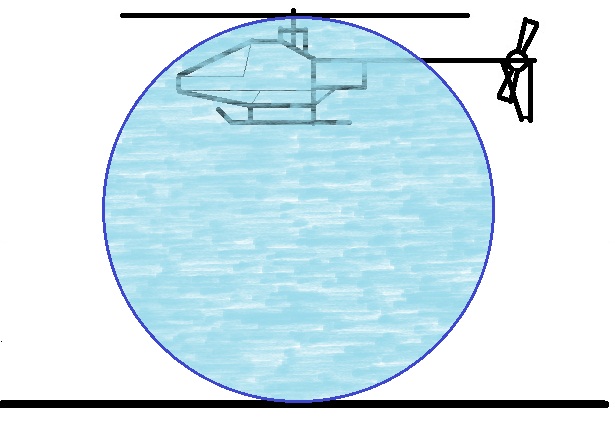
A way to imagine a hovering heli is
to think of the it balancing on a ball (of air). If the ground is
close the 'ball' is smaller:
Transitioning to side on then nose
in hovering - try and put yourself in the 'pilots seat' so that you
input controls relative to the direction the heli is pointing. This
can take time to master, especially the nose in hover, as left and right are
effectively reversed relative to your line of sight.
Trimming.
Adjusting the settings on the heli
and transmitter to 'balance' the heli, ie so that the heli will not tend to
preferentially drift in any one direction.
The first essential is to ensure
that your heli is correctly assembled, the battery fitted properly
and the heli not damaged, especially the main or tail rotor blades.
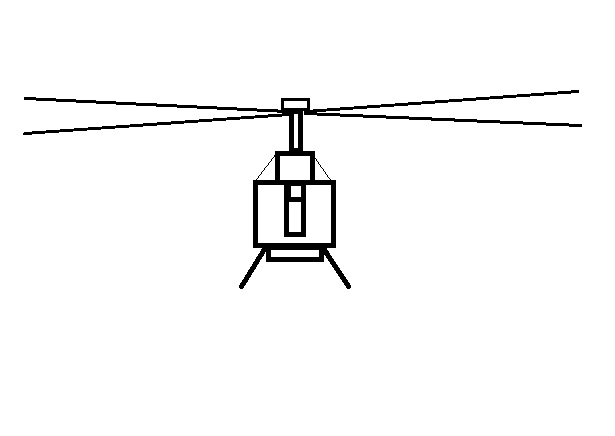
Ensure that the
blades track correctly:
Hold the heli down by the skids,
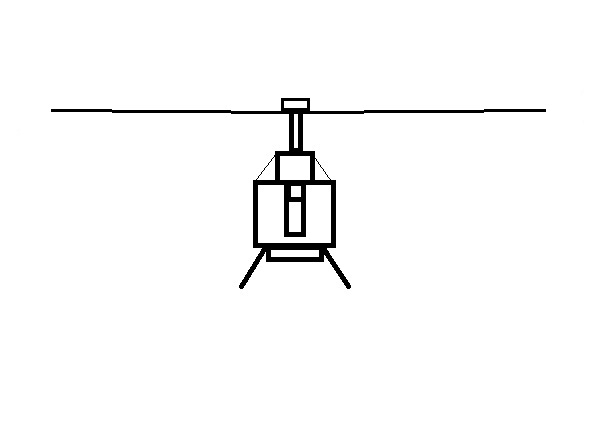
use a weight, run the main blades upto high power. Viewed from edge on do both blades follow the
same path. If they need adjusting consult the manual or
manufacturers web' site etc for tracking adjustment guidance:
Bad blade tracking
Good blade tracking
Check the trim when you are in a
draught free environment, over level surface and well away from any
walls, furniture etc. Microhelis are very sensitive to drafts and
'backwash' from nearby barriers, walls etc.
Do not be over critical in trimming
the heli - I find a lil' forward bias useful.
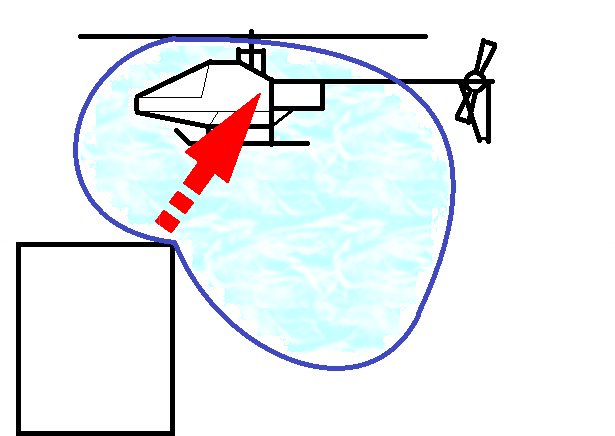
Hovering,
flying slow over an abrupt change in ground level effects the lift
from the main rotor. The 'ball' of air is distorted and pushes away
from the higher level! This decelerates the heli as it approaches
the 'obstacle' and accelerates it off!
First flights
Transitioning to flying is just
extending the duration of the hover and then moving in the desired direction rather
than maintaining a stationary position. For the first few 'flights'
bring the heli to a hover and gently push right stick forward and
get a feel for how fast it accelerates, bring it back to hover and a
lil' back stick to return to the start point (flying backwards so
keeping the heli 'tail in').
Next hover around the
room at a reasonable height in a 'triangle', sharp corners changing
direction whilst almost in stationary hover. By flying a triangle
the heli stays 'side on' avoiding extended time in the nose in
position. As confidence builds
slowly increase the speed and slow the rate of the turns - this will
result in smooth curves, eventually 'circular' circuits around the room,
and periods of 'nose in' flight. Practice circuits in both
directions around the room, anticlockwise is generally harder due to
the gyroscopic effect of the main blades.
Introduce a very small amount of
roll into the turns, turning left a lil' left roll on the cyclic -
be careful the speed of the heli and rate of turn may change rapidly
unless fine roll control is used.
The effect of control inputs on
power will soon become apparent - the more control inputs are used
the less lift is generated by the main rotors. As the manoeuvres
become more rapid and use greater control inputs more power will be
needed to maintain altitude and rotor head speed. This is a fine
balance when flying indoors since there is limit to how high you can
go, and the mix of different furniture heights.
Flying low over furniture has its
own complications. The heli can move in and out of ground effect as
it passes over furniture. This can cause either sudden increases or
decreases in altitude and or control response - all good practice!
What's Next?
Learning to fly in one consistent
space is ideal - the walls don't move and the background 'view' is familiar.
Once competent flying around one room move to a different
environment, different shape room, furniture, even outdoors if you
have a very calm day. These helis can be flown in significant wind
conditions but it takes a lot of practice.
Precision flying - target landing,
slalom gates, etc, add challenges that will stretch you and improve your skills.
The V120D01, like many flybarless
helis has adjustable
stability controls, this allows the flyer to reduce (or increase) the
electronic stability, and adjustable 'servo extent' which limits the
max travel of the servos. If the option is available slowly increase
the 'servo extent' to maximum and reduce the stability to minimum.
On minimum stability a small fixed
pitch flybarless heli will feel at least as unstable as a properly
trimmed 3D capable CP (collective pitch) model - so if flying
a fixed pitch heli has become easy upgrade to a fully aerobatic (3D)
capable CP heli.
The stability of a flybar heli can
be adjusted by reducing the weights (if fitted) on the flybar, but
there is a limit. No fixed pitch heli with flybar will feel as
'unstable' as a CP heli - adjust the transmitter as far as possible
to maximize control input range and accept when upgrading to a CP
its back to school for a refresher course!
Crashes:
I've had scores of crashes learning
to fly this heli - a few are on this video. Microhelis like this one are very tough - mainly
since they are so light there is rarely sufficient inertia in a
crash to damage much. The most important thing to remember it to
SHUT OFF THE POWER - or you will strip gears, potentially do more damage to the
rotors and rotorhead etc. Flybarless microhelis win hands down in
this department since there are no small levers and links in the
rotorhead to damage, flybar rotorheads can be much more fragile.
Always thoroughly inspect your heli after any heavy landing or
crash.
Flight simulators:
There are good
and bad things with training on a flight simulator. They are great
for getting 'thumb memory' and practicing manoeuvres but they are
not very realistic (even the £80+ flight sim's in my experience) -
it's all too easy on a sim' - the controls and even flight
characteristics of the models may be realistic but without the full
sensory feedback (3d vision, sounds, adrenalin, walls etc) there is a lot
missing.


 Hovering,
flying slow over an abrupt change in ground level effects the lift
from the main rotor. The 'ball' of air is distorted and pushes away
from the higher level! This decelerates the heli as it approaches
the 'obstacle' and accelerates it off!
Hovering,
flying slow over an abrupt change in ground level effects the lift
from the main rotor. The 'ball' of air is distorted and pushes away
from the higher level! This decelerates the heli as it approaches
the 'obstacle' and accelerates it off!